In general, the tools using and its functions can be found in details in the online guidelines PDF file of the Adobe Illustrator version you are using, which possible to download it on your computer or you just click help bottom in the program.
in this section will shed the light on the general guidelines of using Adobe Illustrator in the different digital inking purposes.
For example : Adobe Illustrator CS5 or Adobe Illustrator CC
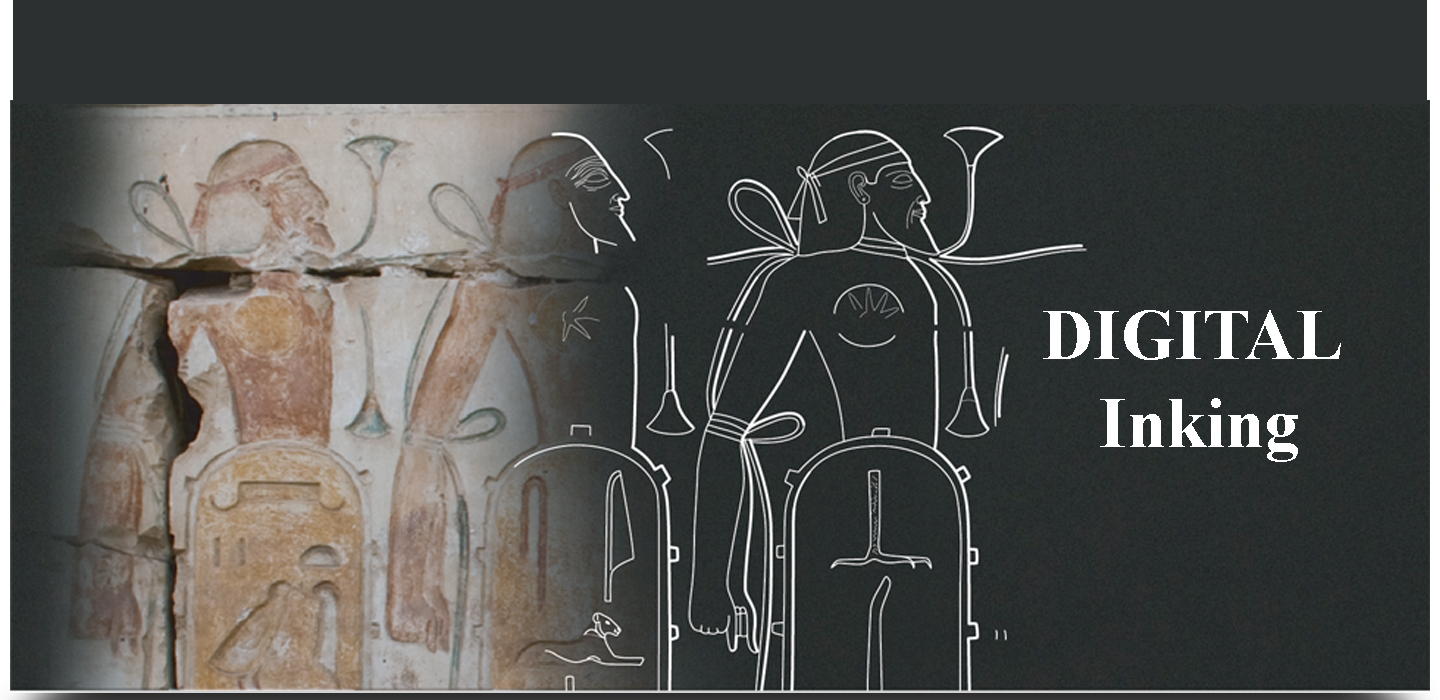
Suggestions for Tracing Artifact Drawings in Illustrator
Tracing artifacts in Illustrator can be a challenge. Duplicating the subtleties that the original artist achieved with a graphite pencil is very difficult. But, there are a few things that help give the illusion of a reproduction of the drawing.
General line and strokes settings:
Line Weight:
set the line to “round cap” and “round Join:” The line weight should be 0.5 pt for the main outlines. The interior lines should be 0.3 pt. Varying line weight this way gives the drawing emphasis on the main form of the object and also diminishes the “busy” or “messy” look of the interior lines by making them thinner.
Drawing:
Always trace an original drawing at (at least) 600% zoom. You will achieve the best effect if you trace at 1200% zoom A large and complicated drawing may take 6 hours or more to draw at these settings, but it will be a much more successful product.
Attempt to trace every line that the original artist drew, and draw these lines as precisely as possible. The “pencil-drawn” look is often created by subtle hachuring and stippling. With the pencil tool, it is possible to re-create these marks. If you meticulously trace over each stippling point and re-draw each mark that you see on the paper, you can re-create the original in Illustrator. The direction and character of these descriptive detail lines is crucial to imitating hand-drawn pencil drawing. Drawing at 1200% zoom will help to achieve a likeness[1].
Tips for Precision
The field drawings should be traced at (at least) 600% zoom for a field drawing scanned at 100% (it will have to be reduced later for publication, you won’t know exactly how much until the layout is ready, so don’t worry about re-sizing until Publications decide). For the best effect, usually trace at 1200%. with the pencil tool set to 2.0 pixel fidelity and 10% smoothness. For many small pieces of stone or sherds, the line width will almost obscure the object, but they still must be drawn as they add to the texture of the feature. Many details will not be visible at print size, but Publications may want to enlarge one small area and then the lines will be much more noticeable. You may find that drawing in outline mode, or at least checking outline mode, gives you the best idea as to whether or not your line is directly on top of the original drawing’s line[2].
Open new file:
If you work on a project, and it has at least four files, you have to unify the Artbrod’s size and resolution. To be sure both sizes and resolution will fit wth the text final size because of resizing (bigger or smaller). Photos from scanned drawings (Pottery or objects) should be scanned in 1:1 with the same resolution. The scan of the drawing will probably not be perfectly horizontal. This problem can be fixed easily: the datum line is usually indicated on both sides of the drawing. So, you must rotate the drawing scan (and any lines you’ve already drawn, but not text) so that a straight line will line up with the two datum marks. Then, you’ll know it’s perfectly horizontal[3]. Also, photos from stretched photos should be with the same resolution.
Notes:
If you are going to illustrate just one drawing and photo, or group of photos with the same resolution, you have three options for photo’s placing, either :
- Use the option “Open with” in Windows:
- Right Click on the photo you are going to illustrate.
- Choose “Open with” from the drop menu.
- Click on “Adobe Illustrator”
- Or use the option “place” in Illustrator:
- File> Place, choose the photo’s location in the computer> Place.
- Then resize the photo with the Artboard, or resize the Artboard to feet the photo.
- Or make a copy of the photo.
- Open new file in Illustrator.
- Paste the photo in Illustrator.
Photo’s link:
After you positioned the photo in its layer by using the first and second methods. You must not change the photo’s location or name in the original file on the computer, that cause the photo will be not visible in the Illustrator file.
If the place of the photo has been changed, the Adobe Illustrator will ask to reposition the photo.
Position the new place. Then click ok.

In addition, if you want to copy or move the file to another computer, you have to move both the illustrator files and the folder, which contain the photos you are used in the Illustrator files.
But if the name was changed, you have to rename the photo again to match with its name in the Illustrator file.
If you are using the third method, you don’t worry if both the name or location of the file on the computer. But the file size will be big, because the size of the photo will be added to illustrator file. if you want to copy or move the file to another computer, you just move the Illustrator files.
| Method 1 | Method 2 | Method 3 | |
| Change the photo’s name and location | No | No | Yes |
| Move the Illustrator file to another computer | With the photos file in the computer | With the photos file in the computer | Just the illustrator file |
| File’s size | Just the Illustrator file | Just the Illustrator file | Just the Illustrator file + photo’s size on the computer. |
If the photo was moved inside the Illustrator during the work for some reason, don’t reposition it manually, but by using arrow keys in the Keyboard, to make sure of the precise positioning.
Once the photo was imported into Illustrator Artboard, close its layer.
Then create a new layer.
Notes: each group of lines or polygons have the same appearance should be in a separate layer, e.g., line’s thickness, colors fill options, …. .
Layers Order:
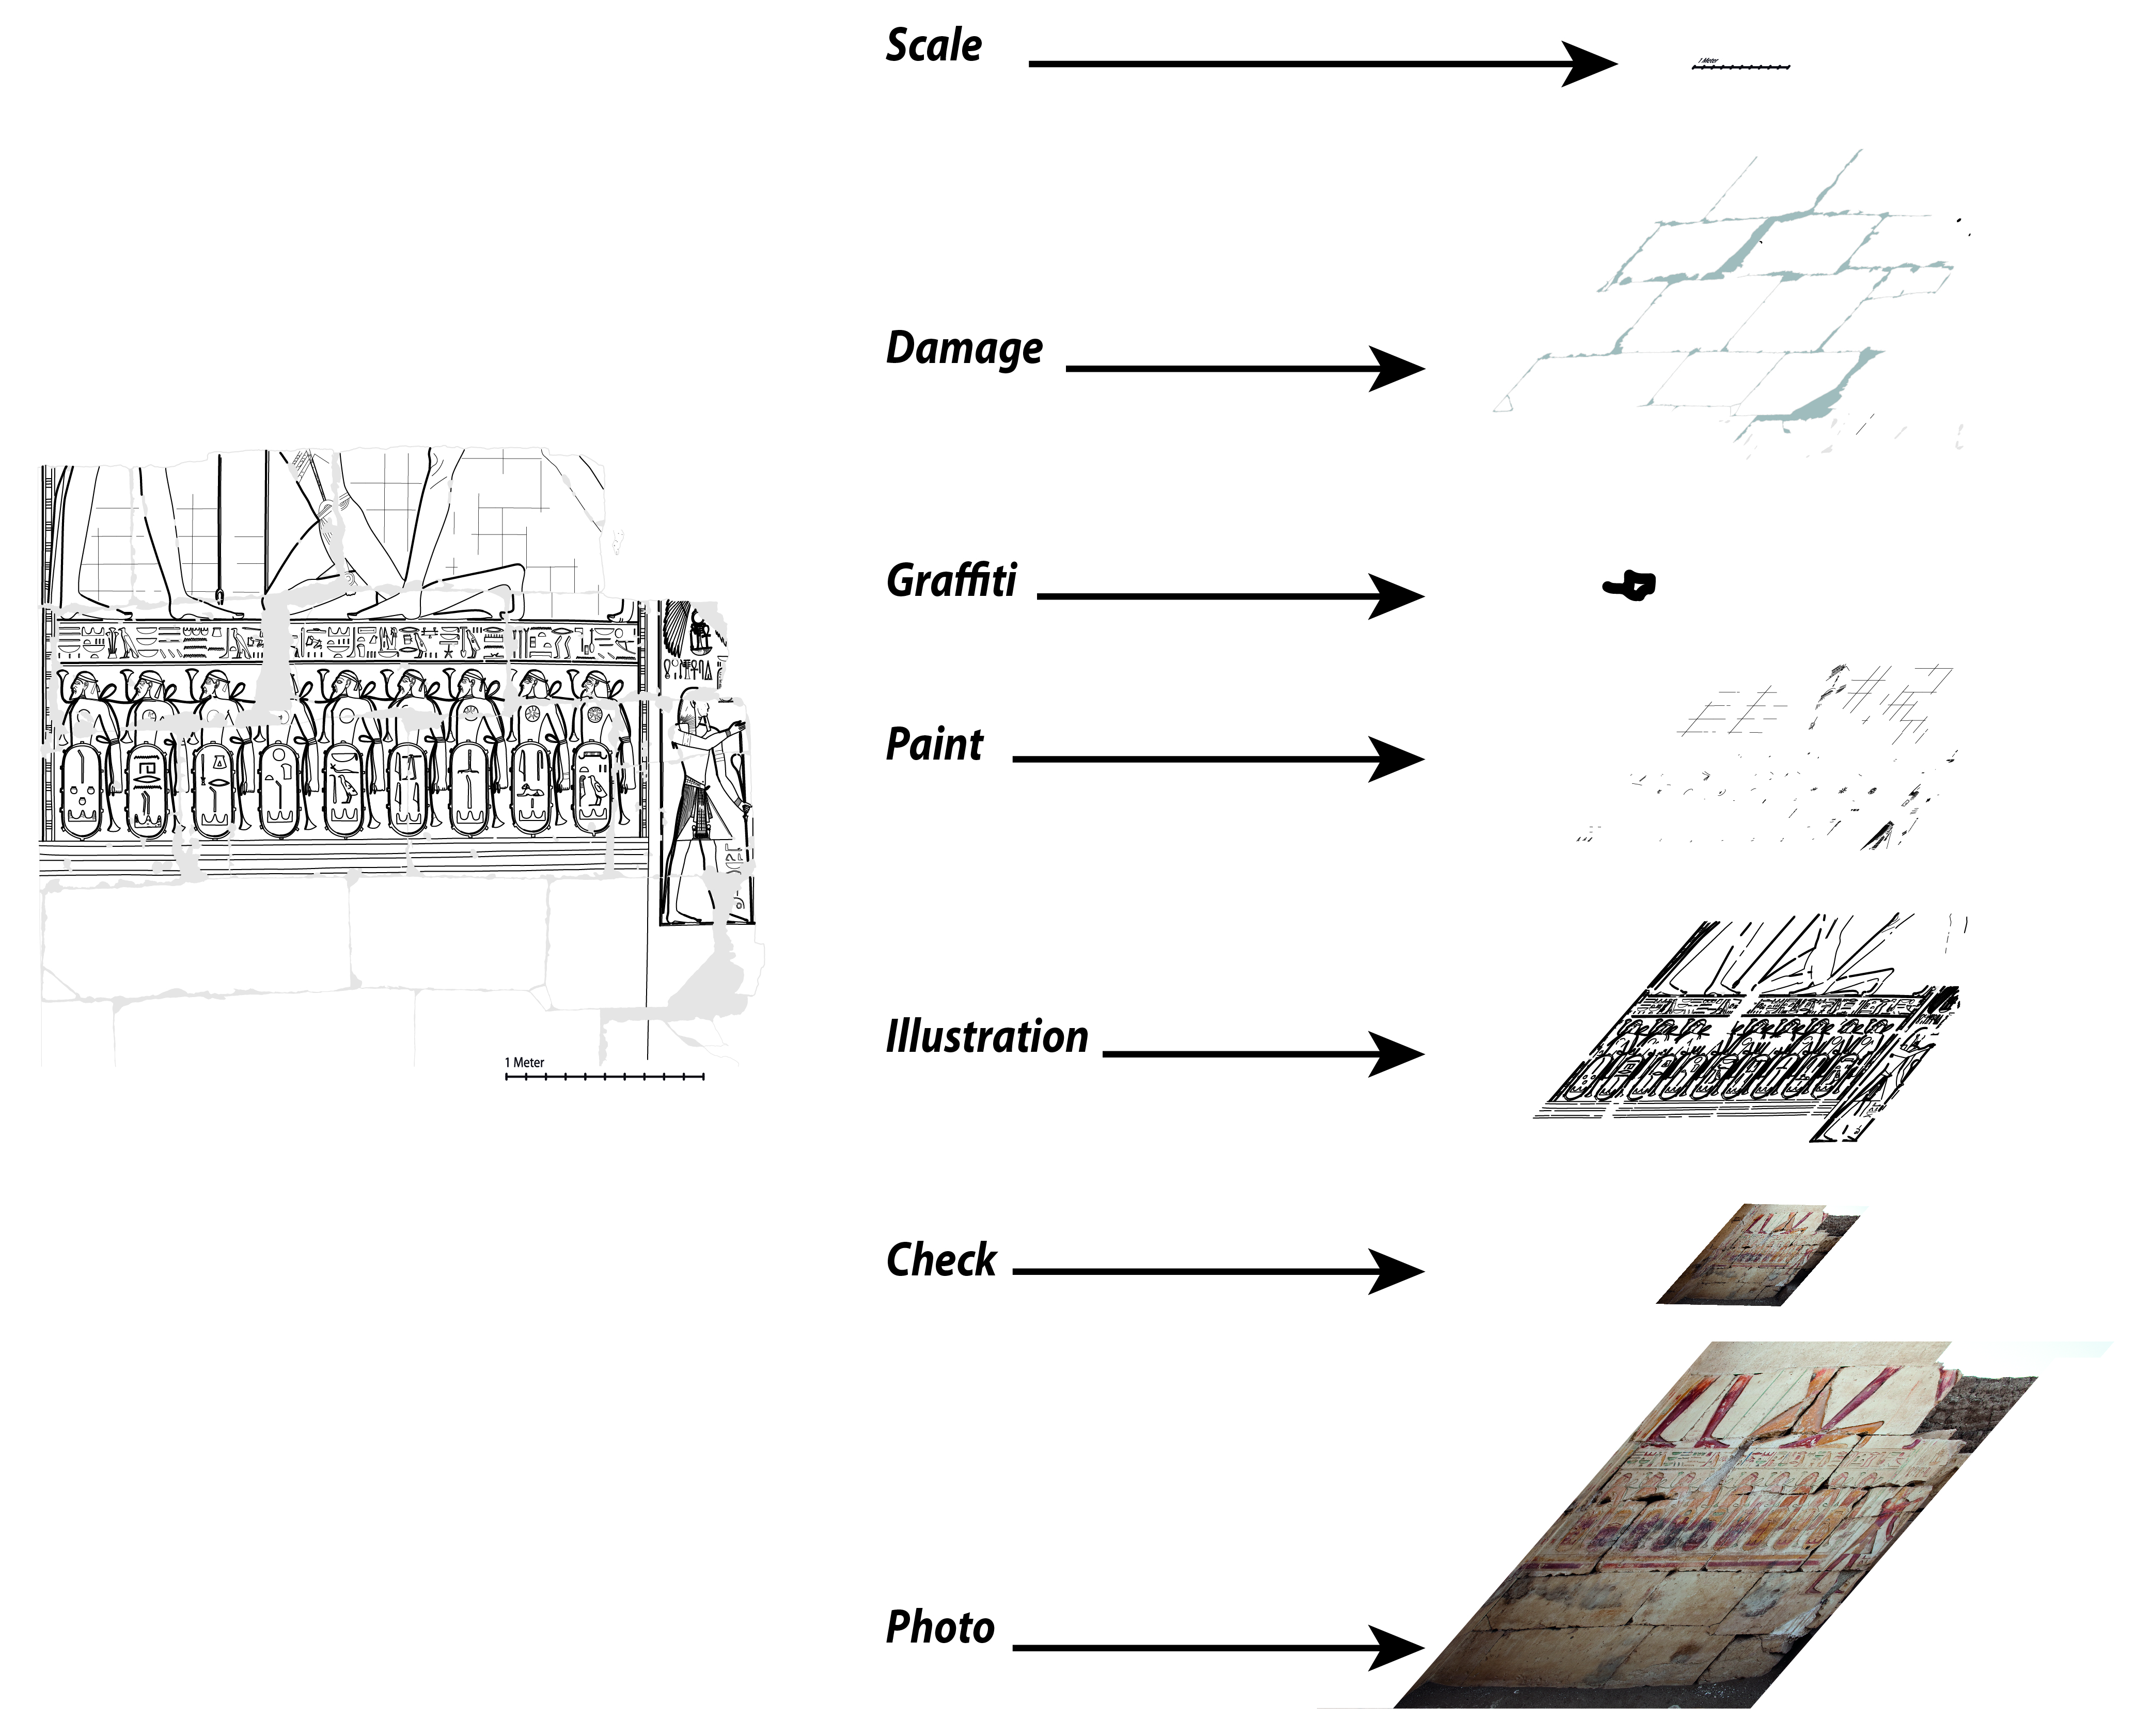
Over the photo layer, you add Check layer in which, you add closeup photos for specific areas in the wall or the scene you are illustrating, which help you to see much details in a quite clear view.
Main lines, e.g. outlines should be the lowest layer after the photo, layers.
Main lines, e.g. outlines should be the lowest layer after the photo, layers.
Followed by layer has the details lines, e.g., inner details, painting, graphite, …. .
Then followed by polygon shapes, e.g., mudbrick, stones, hatching, painting, intentional damage, damage …..
The damage layer should be the highest layer of the work, because theoretically, it’s the modernist feature was happened for the scene or the object, so it should cover any lines or details. Unless there was another feature was added over it, e.g., graphite, reuse. In this cases, those features come over the damage’s layer.
After the whole layers of lines and polygons, comes the data’s layer, e.g. legend, scale bar, text, North Arrow.
Move through the Artboard:
Sometimes you need to move through the Artboard, specialy if you wok on large scene, you can use the “Hand Tool”, but it may not easy to reach the needed aera, so it’s better to do as following:
- Window > Navigator.
- In the Navigator panel, click the area of the thumbnail display that you want to view in the illustration window. Alternatively, drag the proxy view area (the colored box) to a different area of the thumbnail display.
- •Select the Hand tool , and drag in the direction you want the artwork to move[4].

About using the “Navigator Panel” see:
Same shapes format:
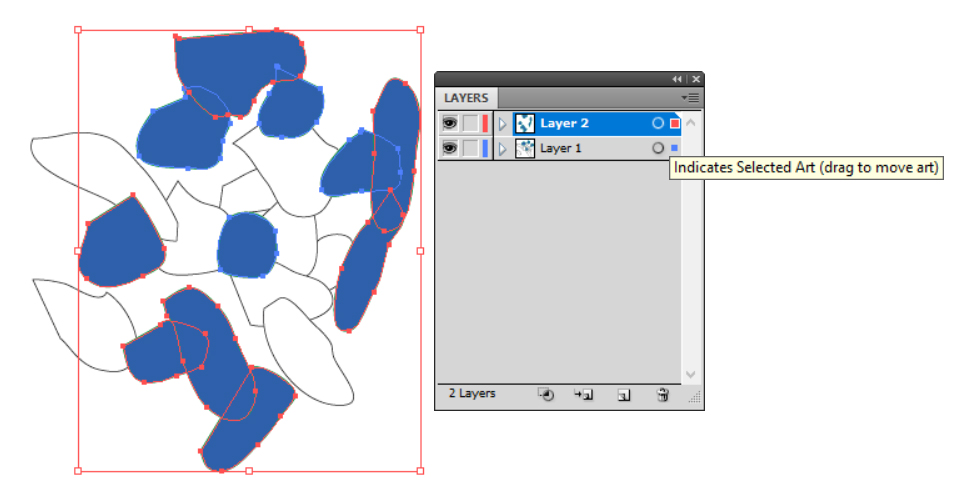
It happens axcedentaly that if you have for example two layers, the first have shapes with black stroke and white fill while the second with green stroke and blow fill, and you want to draw many shapes in the second layer but for some reason you drawed them in the first layer. Now you want to transfare those shapes to the right layer, it will be fvery hard and lost of time to select the all shapes you already drawed in wronge place, specialy if both shapes were trancated each other. So the best way to do that, as following:
- Select one of those shapes, which in the wronge layer.
- Choose Select > Same
- From this submenu you can choose the same shapes format you did.
About “Select Same options” see:
- Then click ok
You will note that the whole shapes with the same format were chooses.
- From Layers Panel, hold “Indicates Selected Art (drag to move art) in the end right of the layer panel, then move the up or down to drag the shapes in the right layer.
Drawing Tools:
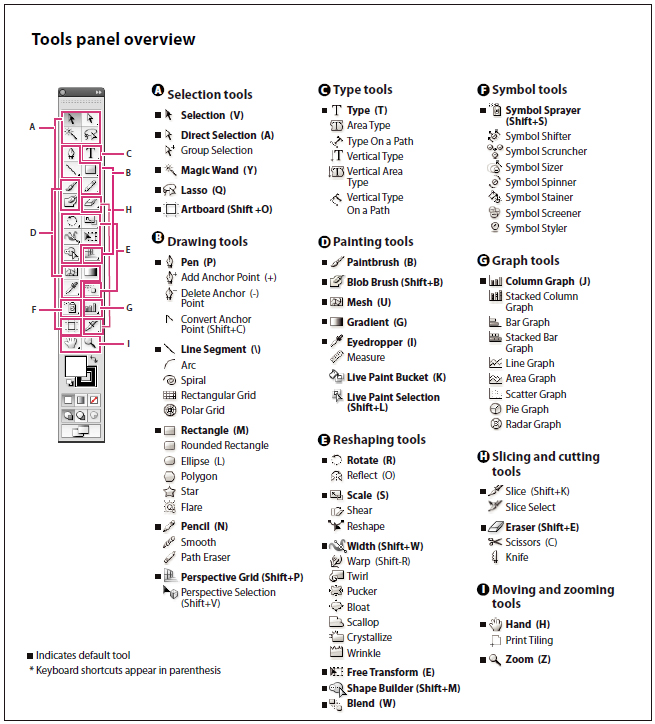
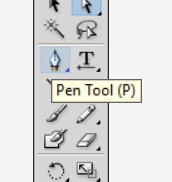
The main drawings tools used for illustrations are “Pen Tool ” and “Pencil Tool ”.
The difference between “Pen Tool” and “Pencil Tool”:
Pen Tool :
The first draws the ideal lines e.g., straight and arched lines.
Normally Pen Tool” is using to draw pottery shards
An example:
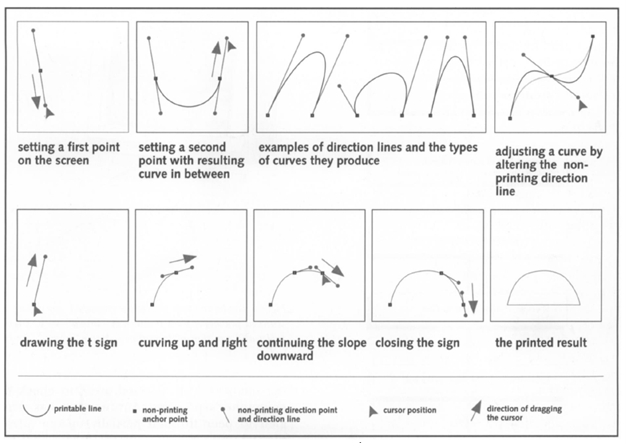
Draw the T Hieroglyphic sign:
- Active the Pen Tool from the Tools Panel.
- One click in the begging of the base of T sign in the left side.
- Then go to the end of the base in the right side and then one click.
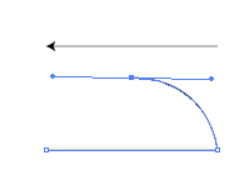
- Go to the middle of the top of T shape, on hold mouse click and shift to the left side until to match the lines with the limit of T shape.
- Free the mouse or pen’s tablet.
- Then go to the left end of the base (where you started the first click). Make sure that you close the shape.
- Adjust the line with the limit T sing from the top point..
Digital Epigraphy: An Approach to Streamlining Egyptological Epigraphic Method
About lines adjusting See[5]
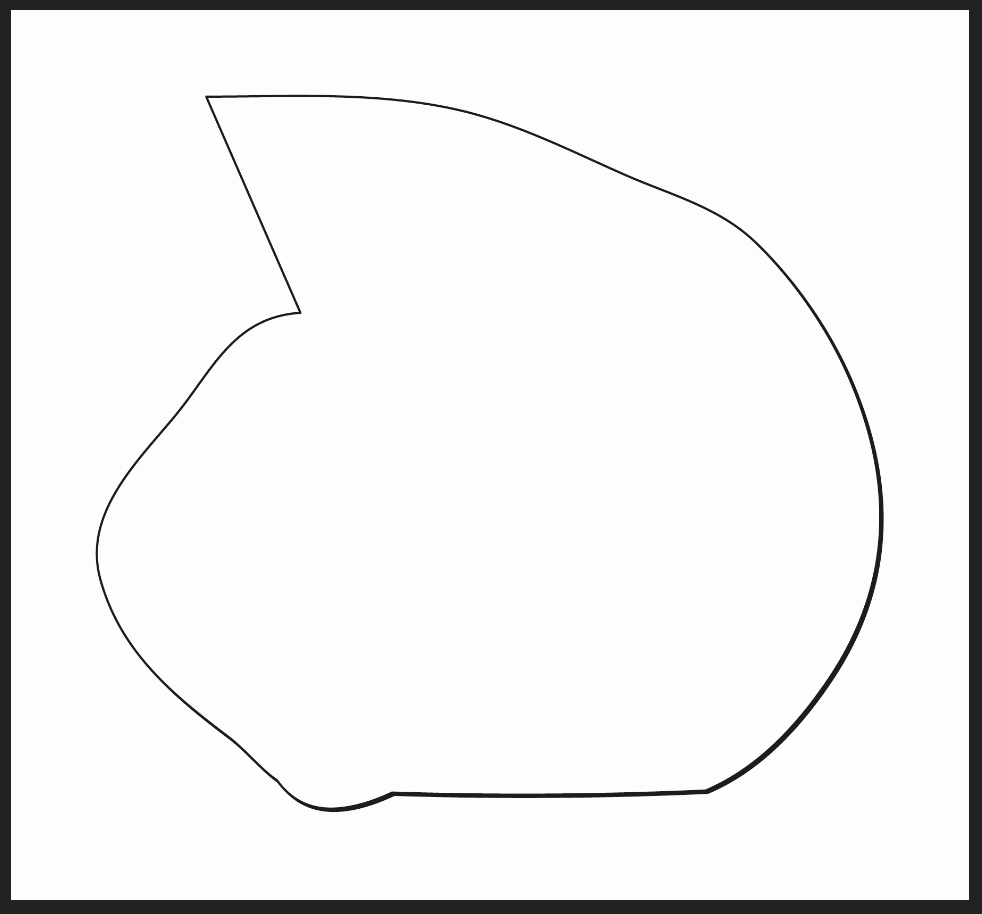
Pencil Tool :
It gives a reality shape, it’s very useful to the irregular shapes, e.g., damage, anyway, It mustn’t match with the original drawings line.
Important:
If you finish drawing polygon shape, either by “Pen Tool” or “Pencil Tool”, you must make sure close the shape -while it’s still active- by pressing (Ctrl+J). whenever possible (overlap the two ends of the line with the pencil tool and they should connect). Avoid applying attributes, such as fills, to objects/layers until you’re almost done tracing to be sure that you haven’t missed anything to trace by accidentally covering it with a fill[6].

If you got this Error Message, that means:
The shape is not active.
Or the two endpoints of the shape also are not active, to active them,
- Active “Direct Selection Tool” from Tools Panel.
- One click on one of the endpoints
- Click shift key in the keyboard with keep pressing.
- Than click on the other end points.
- Then click (Ctrl+J)
Editing shapes:
Shapes and lines would be editing through many tools from the Tools Panel, such as:
“Path Eraser Tool” or “Eraser Tool”
About using “Path Eraser Tool” or “Eraser Tool” See:
For lines editing use
“stroke” Panel
About using “Stroke” Panel options see:
Once you finish your drawings, you want to export your work for publication or printing or any purpuse . If you export some shapes with no boarders, the exporting figure limits will be the same of the drawed shape.

- Open new layer and rename it with white cornner.
- Active it.
In the upper right and lower left corners, draw small squares (0.5 cm) by using “Rectangular Tool” from Tools Panel with fill and strokes of white or None.

Now export it:
- File > Export (choose the format you want)
You will see your figues will have a space between its limy and boarder.
About print tiling:
In case you want to chick the the illustrated scene on the wall drirectly and you want to print it. By default, Illustrator prints each artboard on a single sheet of paper. However, if the artwork is larger than the page sizes available on your printer, you can print onto multiple sheets of paper.
Dividing an artboard to fit a printer’s available page sizes is called tiling. You can choose a tiling option in the General section of the Print dialog box. To view the print tiling boundaries on the artboard, choose View > Show Print Tiling.
Artboard divided into multiple page tiles
When you divide the artboard into multiple tiles, the pages are numbered from left to right and from top to bottom, starting with page 1. These page numbers appear on-screen for your reference only; they do not print. The numbers enable you to print all of the pages in the file or specify particular pages to print[7].
Keyboard shortcuts:
Keyboard shortcuts make you more productive in Illustrator. You can use the default shortcuts included with Illustrator, or add and customize shortcuts to suit your needs. e.g. N letter is a shortcut for “Pen Tool”.
anyway if you stop by the mouse over any tool, it will directly tell you the name of the tool and its shortcut’s letter
also you can customize keyboard shortcuts according your needs, See Adobe illustrator file.
[1] – ArtifactDrawingTips_26ix06_WW
[2] – DrawingGuide_29viii06_LMW
[3] – DrawingGuide_29viii06_LMW
[4] – Using ADOBE® ILLUSTRATOR® CS5
[5] – Peter Der Manuelian, Pp. 104.
[6] – DrawingGuide_29viii06_LMW
